
Most visual novels that hide a relationship score hide it so you can grind it. This one hides it so you can be misled by it. Every dialogue option in Helping Your Boyfriend adds to or subtracts from a counter, and the counters are never surfaced, never named on screen, and never explained by Adrian or Ian themselves. Worse, they are not symmetrical: one of them gates an entire route, the other gates a single branch. Once you know which is which, a first playthrough that felt arbitrary turns into something you can steer.
The short version
- Adrian's counter is a compliance value, not a love meter. Warm answers are worth up to
+2, cold or resistant answers down to-2. adrianRelation > -3sends the Searching scene to#NoSearch. Being agreeable to Adrian is what closes that door.ianRelation > 14opensIanRoute1.ianRelation >= 40opensIanRoute2, the route to Ending 04.toldAddressis the switch that turns the escape intoOutside2. Without it you getOutside1and Ending 02.spatPillis the smallest flag in the game and the one with the largest consequence.
The two hidden meters

There are exactly two counters doing this work, and they live under two different names. The first is adrianRelation, described in the script data as Adrian's approval and affection. The second is ianRelation, described simply as Ian's affection. Both move on dialogue choices, and both use the same scale: values are positive for warm answers, up to +2, and negative for cold or resistant answers, down to -2. There is no third meter, no hidden trust score for Oliver, and no counter for how well you have dismantled the dolls.
What the counters buy is completely different, and that is the whole trick. Adrian's counter is what decides whether Adrian hands over the medication in good spirits. That sounds like flavour until you notice how few places the script actually reads it. Ian's counter is the one that gates scenes: at ianRelation > 14 the game opens IanRoute1, with its own #FreeTime and #FlowerShop branches, and at ianRelation >= 40 it opens IanRoute2, the second half of his route and the road to Ending 04. Those thresholds are hard walls. Below them, the scenes simply do not exist.

Neither counter reads the other, and there is no combined check anywhere in the script data. That is worth pausing on, because it kills a very common assumption. You cannot balance a route by being nicely agreeable to Adrian while charming Ian in the same scene; there is no line where the game adds them together and rewards you. Each counter is read at its own moments, against its own thresholds, and the rest of the time it is only shaping tone.
Practically, that means every choice should be asked of in one question: which threshold is this answer feeding? If it is Ian, you are building route access and should treat the answer as an investment. If it is Adrian, ask whether you want him compliant with you or suspicious of you, and know that only a very small number of his thresholds care about the difference.
The thresholds that matter
Three numeric conditions decide the shape of the ending, and three boolean flags decide which branch you are standing on when those conditions are checked. None of them are visible in play. All of them are in the table below.
| Condition | Where it is read | What it changes |
|---|---|---|
adrianRelation > -3 |
StoryGame/Searching |
Routes to #NoSearch, which blocks the searching branch. Low approval is what keeps the search alive. |
ianRelation > 14 |
IanRoute1 |
Unlocks Ian's route, including its #FreeTime and #FlowerShop branches. |
ianRelation >= 40 |
IanRoute2 |
Unlocks the route to Ending 04, Moving Forward. Below 40 the same escape ends in Ending 03, The Empty Cage. |
toldAddress |
LockingDoor2 |
Routes the escape to Outside2. Without it you land in Outside1, which is Ending 02. |
useKnife |
Day3_Act2 |
Routes to Attack1. Without it, the scene goes to ICanFixHim. |
spatPill |
Day2Evening |
Changes the scene. Leave it unset and the scene runs to Midnight2 and then Day3_ED1, the road to Ending 01. |
Greater than and greater-or-equal are not interchangeable here, and the difference can cost you an ending. ianRelation of exactly 14 does not open IanRoute1; the check is strictly greater, so you need 15. Exactly 40 does open IanRoute2, because that check is greater-or-equal. The same distinction applies to Adrian's value: -3 is safe for you, because the blocked branch requires a value above -3, so -2 already closes it.
Notice what is missing from this table. There is no threshold that reads adrianRelation to decide whether Adrian loves you, and none that reads ianRelation to decide whether Ian is trustworthy. The script never asks those questions. It asks narrower ones: will Adrian let you search, will Ian show you his route, and do you have the address.
Compliance, not love
The line you will hear in every discussion of this game is that agreeing with Adrian leads you to the wrong ending. That is right about the outcome and misleading about the mechanism, and the difference matters because players who take the shorthand at face value end up cold on purpose for a whole playthrough and then cannot work out why nothing changed.
The precise truth is that adrianRelation behaves like a compliance meter. It does not measure whether Adrian is fond of you. It measures how much your answers let him keep you where he wants you. The script reads it in two places that matter: the Searching scene, where a value above -3 closes the search, and the medication handoff, where the value decides whether Adrian hands the medication over in good spirits. Everywhere else, the number mostly moves the temperature of the room.
The shorthand
Keep Adrian's affection low. Be cold, be resistant, never agree with him. Warm answers are the trap, and high approval is how you end up in the worst place.
The precise version
Only one threshold in the whole game reads Adrian's value for a route. The rest of the time the number is flavour, and being cold everywhere costs you scenes and mood without buying a different ending.
So the shorthand is right in its conclusion and lazy in its reasoning. Being agreeable to Adrian is what closes the door to searching, and searching is what finds the key, the phone and the room behind the locked door. But the meter is not a love meter that unlocks a reward for patience. It is a permission counter, and permission is only ever granted at the point of the request.
The second place Adrian's value is read is the medication itself: the counter is what decides whether Adrian hands the medication over in good spirits. That is worth dwelling on, because it means the compliant ending is not built out of cruelty. You are not making Adrian dislike you. You are making him comfortable enough to keep handing you things, and the horror of Ending 01 is that it works exactly as smoothly as he expects it to.
Two practical consequences follow. First, the moment you understand that the compliance reading is local, you can be warm with Adrian in the scenes where warmth costs you nothing, which in practice means the doll disassembly and the early dialogue, without ever letting approval drift high enough to close the search. Second, you stop treating Ian's counter as a consolation prize for being miserable. ianRelation is the counter that opens scenes, and it is worth far more attention than Adrian's.
Every flag, explained
Fourteen flags do real work in the branching, a handful more record smaller conversations, and one is metadata. Here they are, grouped by what they are for rather than by the order the game asks about them.
One thing to understand before the list: flags are written once and read much later. spatPill is set in the midnight scene and read in Day2Evening. sawParcel is set during the exploring sequence and the thing you saw on that parcel is needed a day later. hasKey is a pickup in the dark, and the escape sequence checks it much later. That gap between setting a flag and reading it is where most players lose track of what they have actually done.
Story-state flags
These record what you did on the timeline rather than how anyone feels about you.
tookPill— You swallowed Ian's pill on the first night, at the midnight scene with the hand over your mouth. It is the positive twin ofspatPill, and it marks a choice that looked passive in the moment.wentOutside— You left the house at least once.Day2Eveningreads it: if it is false, Adrian's bedtime scene branches to#Trustinginstead of running on.sawParcel— You found the parcel Adrian brought home. This is the flag that matters most, because the address on that parcel is the address you eventually give Ian, andtoldAddresscannot be set without it.spatPill— You spat the pill out. It is checked inDay2Eveningand it is the flag that decides which half of the story you are in. It gets its own section below.madeup— You made up an excuse about where you were. A small lie, recorded so the script can acknowledge it later.
Relationship flags
These four record the questions you put to Ian in the free-talk scenes, where his affection is won or lost. The flags name the question; the affection counter moves with your answer to it.
ftHereAsked— You asked whether Ian is here.ftKnowAsked— You asked Ian whether he knows something.ftAgeAsked— You asked Ian his age. A strange question to ask a stranger who has just pinned you down, which is exactly why it is worth asking.ftEscapeAsked— You asked Ian about escaping. It is the most direct of the four, and the one most likely to change how he reads you.
Escape flags
These exist only if you are trying to get out of the house. Each one is a step in a chain, and the chain breaks at the first link you skip.
hasKey— You are holding the key to the locked room. It also opens the#KeyStubbranch of the basement sequence.hasScalpel— You picked up the scalpel. It is the object that makes the act two decision possible.secretRoomVisited— You have been inside the secret room behind the locked door. The escape sequence uses it to decide whether you already know what is down there.toldAddress— You gave Ian the address of the safe place. This is the flag the escape door opens on:LockingDoor2routes toOutside2when it is set and toOutside1when it is not.clickedLivingDoor— You tried the living room door on the run. InLockingDoor2it is the first check, and it sends you to#Exit.useKnife— You used the knife.Day3_Act2routes toAttack1when this is true, and toICanFixHimwhen it is false.
Phone flags
All four branch off the single phone screen in PhoneOutside1, after the escape. It is one minigame and four possible records of how you handled it.
phoneTried— You tried to dial a number on the phone.phoneCorrect— You dialled the correct number. Two digits of it are written in ink on your arm and they fade, so remember them. This is the flag that gets Oliver Freeman on the line.phoneLeave— You left the phone without calling. The option to walk away is a real option, and the game records it.oliverCallDropped— You dropped Oliver's call. The worst outcome of the four, and the one that leaves you without the one ally who was on his way.
One more flag exists for anyone curious: g_clearedOnce is set after any ending is reached, and marks that you have cleared the game once. It never routes anything. It is the game's way of knowing.
The flags that only exist for the escape route
Six flags have no meaning at all unless you are leaving the house: hasKey, secretRoomVisited, toldAddress, phoneCorrect, hasScalpel and useKnife. They form a chain, and the order is not flexible.
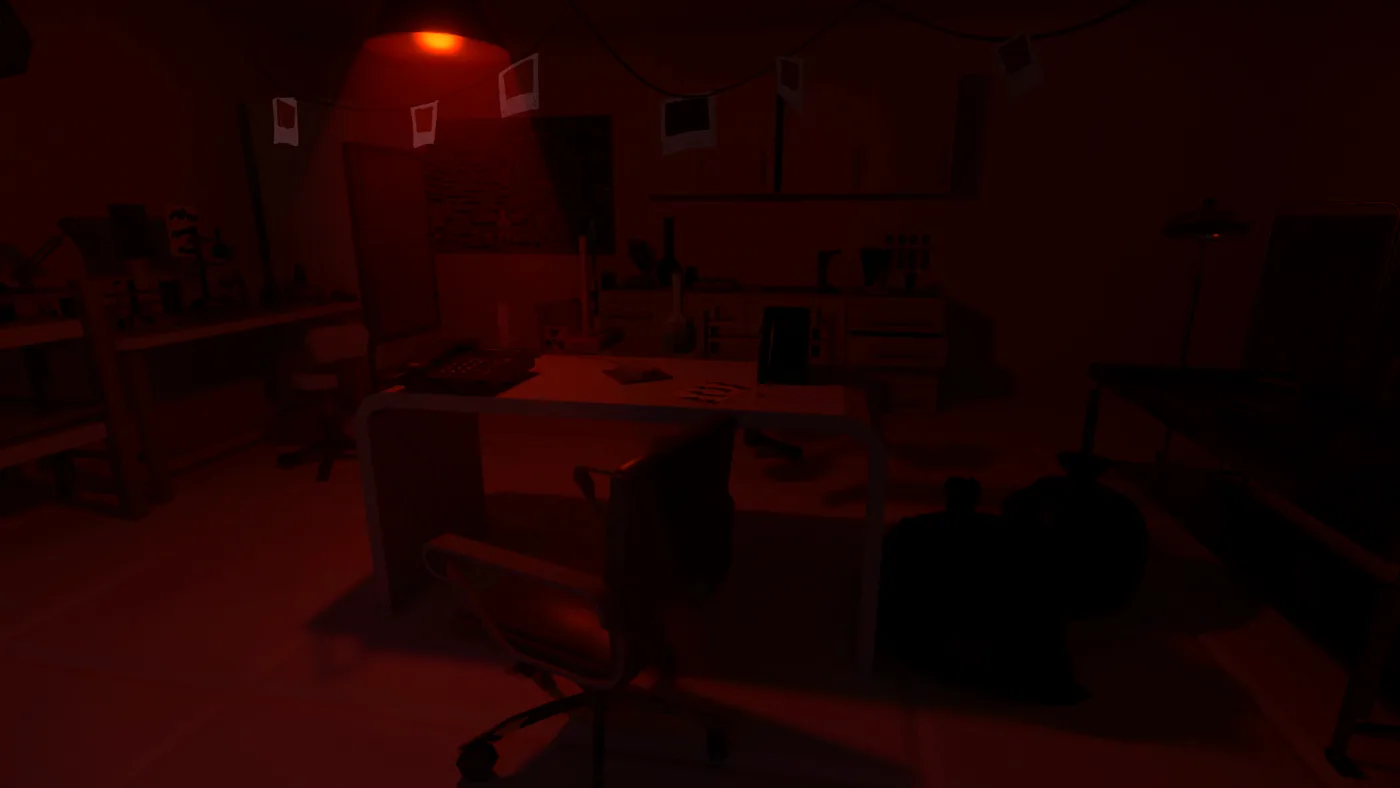
First, hasKey. Without the key to the locked room there is no secret room, and without secretRoomVisited there is no phone. Second, secretRoomVisited. Once you have been inside, the escape sequence in LockingDoor2 knows it, and it checks the flag in order: clickedLivingDoor sends you to #Exit, hasKey sends you to #KeyDoor, and only then does secretRoomVisited decide whether you go to #KeyDoorOpen or on to PhoneOutside1.
Third, phoneCorrect. The phone screen is a minigame: dial the right number and Oliver Freeman answers. He has been parked in the alley by Adrian's house, patrolling day and night because he suspected Adrian, and when Ian raises a syringe in the rain Oliver is the one who stops it, having climbed over the fence just in time. Fourth, toldAddress. The address is 742 Silverwood Creek Lane, Silverwood Springs, CA 95401, written on the parcel Adrian brings home. Give it to Ian and LockingDoor2 routes to Outside2, where ianRelation decides between Ending 04 and Ending 03. Withhold it and you get Outside1: Ian walks you into the rain, tells you there is nowhere else that is safe except that house, calls you a fool, and you go back inside with him. That is Ending 02, The cage.
Fifth and sixth, hasScalpel and useKnife. These belong to the act two decision. Pick up the scalpel, use the knife, and Day3_Act2 routes to Attack1, which runs through Attack2 into FinishHim. Do not, and the scene goes to ICanFixHim instead, and from there to Attack4 and the escape sequence.

None of these six flags is required by a dialogue choice alone, and that is the part people miss. hasKey and hasScalpel are pickups. secretRoomVisited is a place. phoneCorrect is a minigame. toldAddress is a sentence. useKnife is a decision at the worst possible moment. Five separate small acts, and the game treats the chain as one unit. Skip the middle link and the whole chain quietly collapses back into a story about staying inside.
Three ways to play it
These three routes are built from the same script, so you can compare them directly. The first two are short, the third is the longest to set up.
The compliant route, all the way to Ending 01
Favour warm and submissive answers for Adrian, and let adrianRelation sit high. Accept the medication he hands over, and do not set spatPill. Keep wentOutside false, which is what keeps Day2Evening branching to #Trusting rather than running on into Midnight2 and Day3_ED1. The ending is a newspaper clipping about Adrian's Outstanding Physician award, the note that the brilliant 30-year-old is still a bachelor, and his refusal to answer questions about his personal life. The surface stays perfectly pleasant. The horror is that the story ends before the horror does.
The defiant route, and the cage you walk back into
Favour cold and resistant answers so that adrianRelation stays low enough for the Searching scene to stay open. Take the key, open the locked room, find the phone and dial Oliver correctly, and get out of the house. Then withhold the address. Leaving toldAddress unset sends LockingDoor2 to Outside1 and Ending 02, where Ian tells you there is nowhere else that is safe except that house, exactly as Adrian told you, and you end up going back in with him. It is the escape that returns you to the cage.
The Ian route to Ending 04
Work on ianRelation first. Ask Ian the four questions that set ftHereAsked, ftKnowAsked, ftAgeAsked and ftEscapeAsked, and answer him warmly so the counter climbs. Above 14, IanRoute1 opens with its #FreeTime and #FlowerShop branches. Keep going to 40 or higher and IanRoute2 opens, which leads to Police2 and Ending 04. Then run the escape chain: hasKey, secretRoomVisited, phoneCorrect, and toldAddress so Outside2 receives you instead of Outside1. Three months later you are in a hospital room, Ian is in a psychiatric hospital and calls you from a mobile phone when the doctors allow it, and he is an even better speaker on the phone than face to face. It is the only ending where somebody is still talking to you.
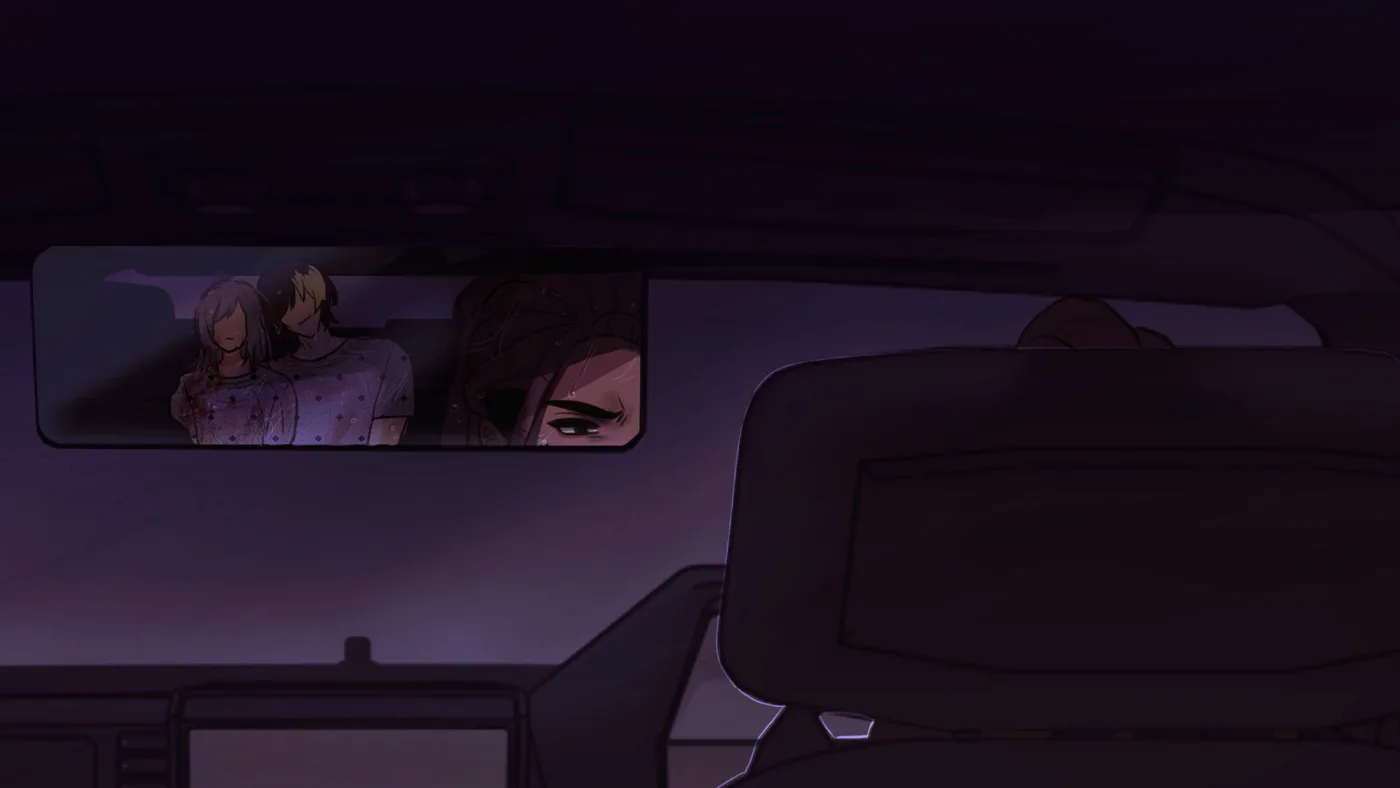
The three routes share the same three days, so the fastest way to see them all is to change one variable per run: warmth for Adrian in run one, the address in run two, and Ian's affection in run three. Keep a note of the address and the two arm digits between runs and you will never lose them again.
The one-flag trap
Here is the choice that has cost more players their intended ending than anything else in the game, and it is not a dialogue option. It is one button in a four-way timing minigame, and it happens in the dark.


At Midnight1 a weight settles on you in the dark, a man's shadow falls over the bed, a hand clamps over your mouth and a pill is held in front of your face. It is a timed decision under the weight of a body, and both mouse and keyboard matter: a brief press reads, a held press confirms. The four outcomes are labelled #OpenEyes, #Take, #Refuse and #Vanish, and two of them leave a permanent record. Taking the pill sets tookPill. Spitting it out sets spatPill.
Where the flag actually bites
spatPill is checked in Day2Evening, hours later, and that is the point. Set it and the scene changes. Leave it unset and Day2Evening runs on to Midnight2 and then Day3_ED1, which is the road to Ending 01. A single reflex in a minigame decides which half of the story you are in, and you will not be warned.
So the trap is not that spitting the pill is wrong. The trap is that people assume resistance is a character trait and stay passive in a timed press, then arrive at Day2Evening with no idea that a flag set in the dark has already chosen for them. If you want the second half of the game, spatPill has to be set, and it has to be set deliberately. And when you do set it, Midnight2 comes back around, the pill scene is revisited, and the story turns.
Frequently asked questions
What are the two hidden meters in Helping Your Boyfriend?
They are adrianRelation, which tracks Adrian's approval and affection, and ianRelation, which tracks Ian's affection. Every dialogue choice adds to one of them or subtracts from it, with warm answers worth up to plus two and cold or resistant answers down to minus two.
Should I keep Adrian's affection low?
Lowering it is what opens the escape route, because the script blocks the searching branch once adrianRelation rises above minus three. But it is a compliance value rather than a love meter, so cold answers only pay off in the specific places where the script reads it.
What does adrianRelation greater than minus three do?
In the Searching scene the check is adrianRelation greater than minus three, and when it is true the scene routes to NoSearch, which blocks the searching branch. The house only gets searched while your approval of Adrian stays low.
How do I reach Ending 04, Moving Forward?
You need ianRelation at 40 or higher so that Outside2 routes into IanRoute2, and you need toldAddress set so that the escape sequence reaches Outside2 rather than Outside1. IanRoute2 leads to Police2 and Ending 04.
What is the difference between Ending 03 and Ending 04?
Both are reached from Outside2, and both need toldAddress. The split is Ian's affection: at 40 or higher, Outside2 routes to IanRoute2 and Ending 04. Below 40 it routes to Police1 and Ending 03, The Empty Cage.
What does spatPill actually change?
It changes the Day2Evening scene. Leave spatPill unset and that scene runs on to Midnight2 and then Day3_ED1, which is the road to Ending 01. Set it and the night branches away from the default line instead.
Which flags do I need for the escape route?
hasKey so you can open the locked door, secretRoomVisited so the escape sequence finds the phone, phoneCorrect so Oliver Freeman answers, and toldAddress so the escape ends at Outside2 instead of Outside1. hasScalpel and useKnife belong to the attack side of act two.
How do I make Ian trust me?
Warm answers to Ian move ianRelation in the same way warm answers move Adrian's value. The questions you ask him are recorded separately as ftHereAsked, ftKnowAsked, ftAgeAsked and ftEscapeAsked. Ian's route opens at ianRelation greater than 14 and his second half opens at 40 or higher.
Does the game mark any ending as the good one?
No. There is no official good or bad ending classification. The four endings split along how much you trust Adrian, how much you trust Ian, and whether you ever get out of the house.